BULL Forms is proud to announce the launch of our fully integrated file storage solution.
What does this mean for agents using our product to generate TREC forms?
All BULL Forms Texas users can now upload, share and store all of their files easily using the same familiar interface they have become accustomed to. There is no additional charge to our users and all users have unlimited file storage!
You no longer have to use multiple programs, frequently jumping between programs. Instead you can now easily upload multiple files into your deal and you will have all of the information you need in one easy to access location. Your files are automatically synced into the cloud and available from any computer with internet access using your account credentials.
Let’s see how the file storage solution works. When you log into your account you will now notice that there is a file icon on each one of your deals:
![]()
Click on the “files” icon to be taken into the file navigator:
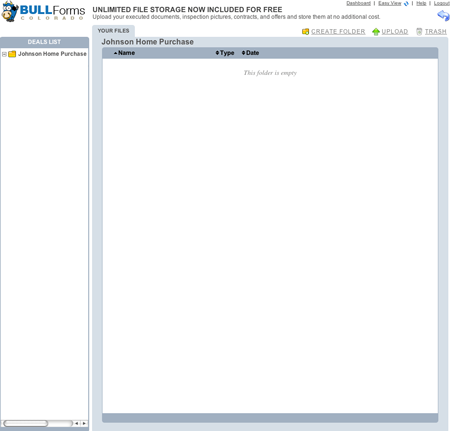
Once within the files dashboard you will be able to navigate between deals to view all files in each of your files. All of your deals will automatically be listed on the left hand side of the window. Please note: If you delete a deal, you will delete all associated forms and files!
From the main screen you can choose to create a folder or upload files. If you want to keep your files nice and neat, you may want to add a new folder, you can do so by clicking on the “Create Folder” icon, you will be prompted to name the folder, as pictured below:
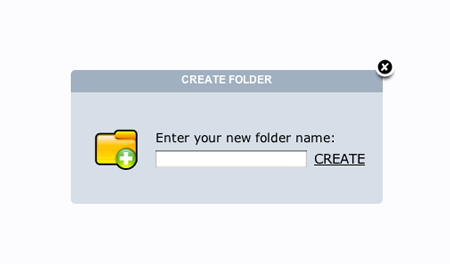
Type in your desired folder name and click create or enter to create the folder. Here is what the folder you just created will look like:

Double click on the new folder to jump in and view its contents.
To upload files lets click on the “Upload” icon. Click on the “Select” button near the top right corner. Your browser’s file manager will open. Select all of the files that you wish to upload. You can select as many files as you like. Once you have started uploading files you will be shown your progress. Once all uploads are complete you will see a window like this:
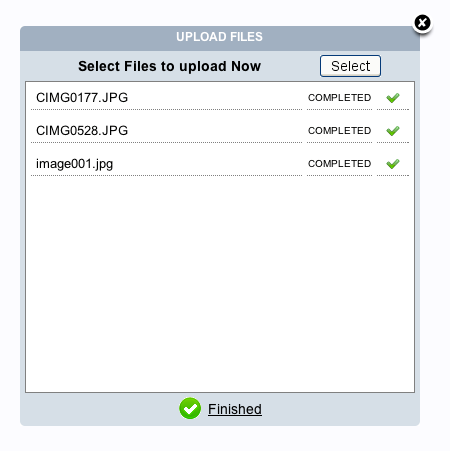
If you are done uploading files you can click on the “finished” icon or the “X” on the top right corner of the window. You will now see your files, as illustrated below:

You have the option to rename, download, share or delete each file. If you want to send your client or co-worker a file, but don’t want to download and email the file, you can share the file with one click. Click on the “Share” icon. The file will be shared, and you will see the following:

Click on the email link and you will see the email window:
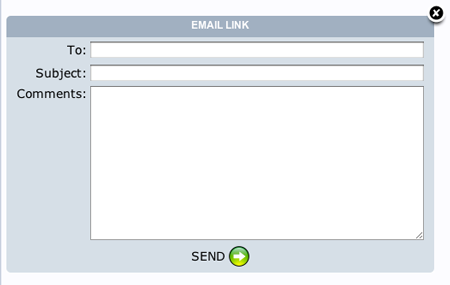
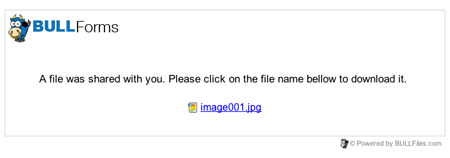
Your client or coworker will receive an email with a link to the file that you have shared. Be careful as this file will be available to any party with the link. The public view of the file will look like this:
All of us here at BULL Forms hope that you enjoy the file storage solution and integrate it into your Real Estate Offices. You now have one location to generate your TREC Texas Contracts and save all of your files!
As always, if you have any feedback or feature recommendations, please do not hesitate to contact us. You will be surprised how quickly we respond.
Thank you,
BULL Forms Team
